

EmailOctopus is a newsletter mailing service that offers low cost monthly plans and even a generous free plan. It features an easy-to-use interface and attractive design customization for your signup pages, forms, and email templates. For these reasons I use it myself and I recommend it as a good option for those who are starting out with a mailing list.
EmailOctopus's help docs will guide you through the setup of your account, but here are instructions for configurations relevant to your WideRange website.
Embed a Signup form on your website
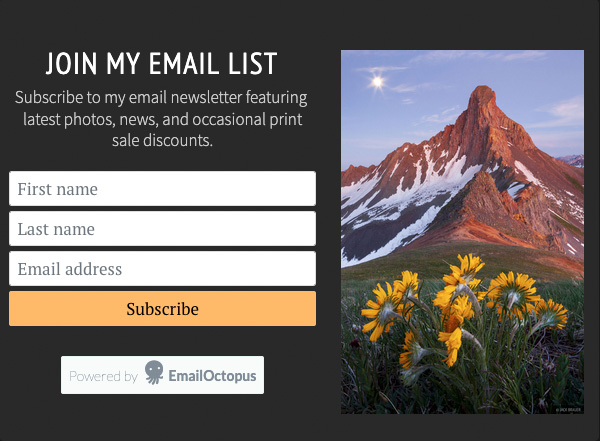
The most important part of managing a mailing list is providing a way for people to subscribe! In your EmailOctopus account you can create a customized signup form, then embed it into your website.
➜ How to create an embedded EmailOctopus signup form (Choose the Inline style).
* Hint: start your customizations with the Global Styles, then customize the Content. You can adjust the fonts and colors to create a design that somewhat matches your website design.
➜ When the form is done, click the Add to your website link near the upper right. Copy the script code that is shown.
➜ In the WideRange admin: go to Mail > Mailing List and paste this code into the Embedded Signup Form field and save.
Once you've completed these steps, you will see the EmailOctopus signup form shown on the Contact page of your website, below the contact form.
Create a Signup Page
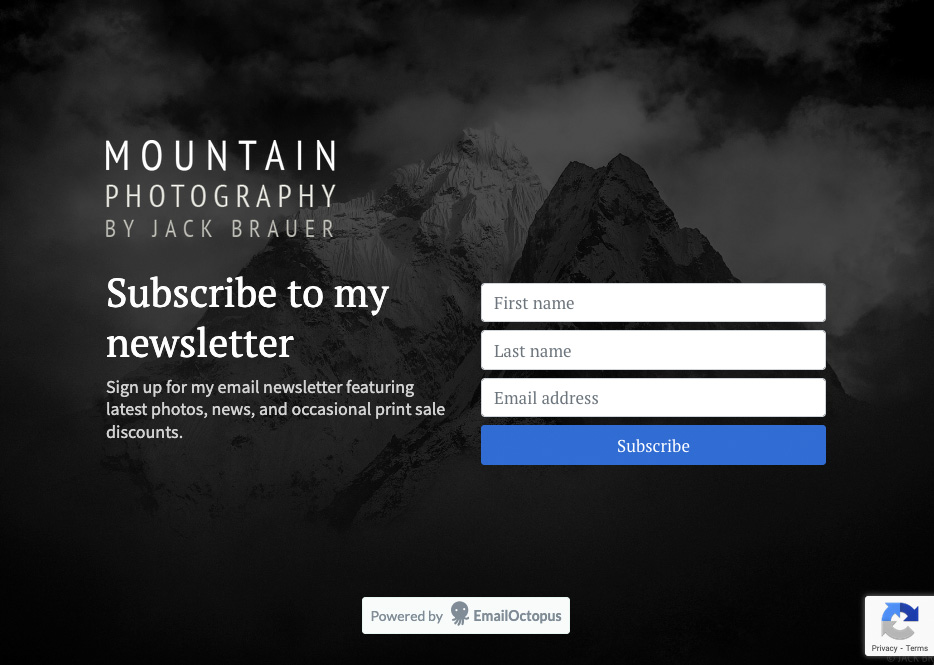
Another method for signing up new subscribers is to create an EmailOctopus signup landing page. This is a standalone signup page that you can link directly to, so you can create "signup" links in various places throughout your website that link to this page.
➜ How to create a signup landing page
* Hint: start your customizations with the Global Styles, then customize the Content. You can adjust the fonts and colors to create a design that somewhat matches your website design.
➜ When you're finished customizing the page and published it, you create links to the landing page URL address from anywhere on your website.
➜ If you want to change the prefix of the signup page address, you can do so in Account Settings. Change the Account domain as desired.
✅ Add a Signup Checkbox to your Contact Form
This is a cool feature for WideRange websites – when people are contacting you through your website's contact page form, they can simply click a checkbox to subscribe to your mailing list. To enable this feature, you need to configure an API connection between WideRange and EmailOctopus.
➜ Create an API key and copy it.
➜ In the WideRange admin at Mail > Mailing List, paste the key in the EmailOctopus API Key field.
➜ Get your List ID (By default in EmailOctopus you just have one mail list, which is called "Audience").
➜ In the WideRange admin at Mail > Mailing List, paste the list ID in the EmailOctopus List ID field.
➜ In the WideRange admin at Mail > Mailing List in the API Connection section:
- Select the checkbox to activate EmailOctopus.
- In the Contact Form Signup Checkbox section, click the checkbox to include the signup checkbox.
- Customize what you want the signup checkbox label to say, if desired.
- Scroll down and click SAVE.
Once you've saved these settings in the WideRange admin, you will see an automated API connection status next to the EmailOctopus API settings, which will tell you if the API connection is working or if there are any connection errors.
Embed a Pop-up Signup form on your website
Most people find pop-ups super annoying, but if you want to have a pop-up signup form on your website, you can! The process is very similar to the above, but with the following differences:
➜ How to create a pop-up signup form
➜ In the WideRange admin go to Mail > Mailing List and paste this code into the Pop-up Signup Form field.
Authenticate your Sender Domain/Email
In order to ensure that your newsletters arrive in your subscribers' inbox and not their junk folders, it's important to authorize EmailOctopus as a verified sender.
➜ Verify your domain in EmailOctopus
EmailOctopus will generate a list of DNS records that need to be added for your domain. If I am managing your DNS records for you (usually the case), please copy and paste these records into an email to me and I will add them for you. Otherwise you will need to log into the account where your domain name is registered and add them in there.
Hopefully this page has helped guide you through the steps to connect your EmailOctopus mailing list to your WideRange website. If you have any questions, please ask.